How to Connect Your Hostinger Email to Gmail
Manage your Hostinger email inside Gmail so you can read messages, reply from your domain, and keep everything in one clean inbox.
Read Everything in Gmail
No more switching between inboxes just to keep up with client messages.
Send as Your Domain
Reply professionally from your business email address right inside Gmail.
Keep It Simple
Use one familiar inbox for both sending and receiving mail.
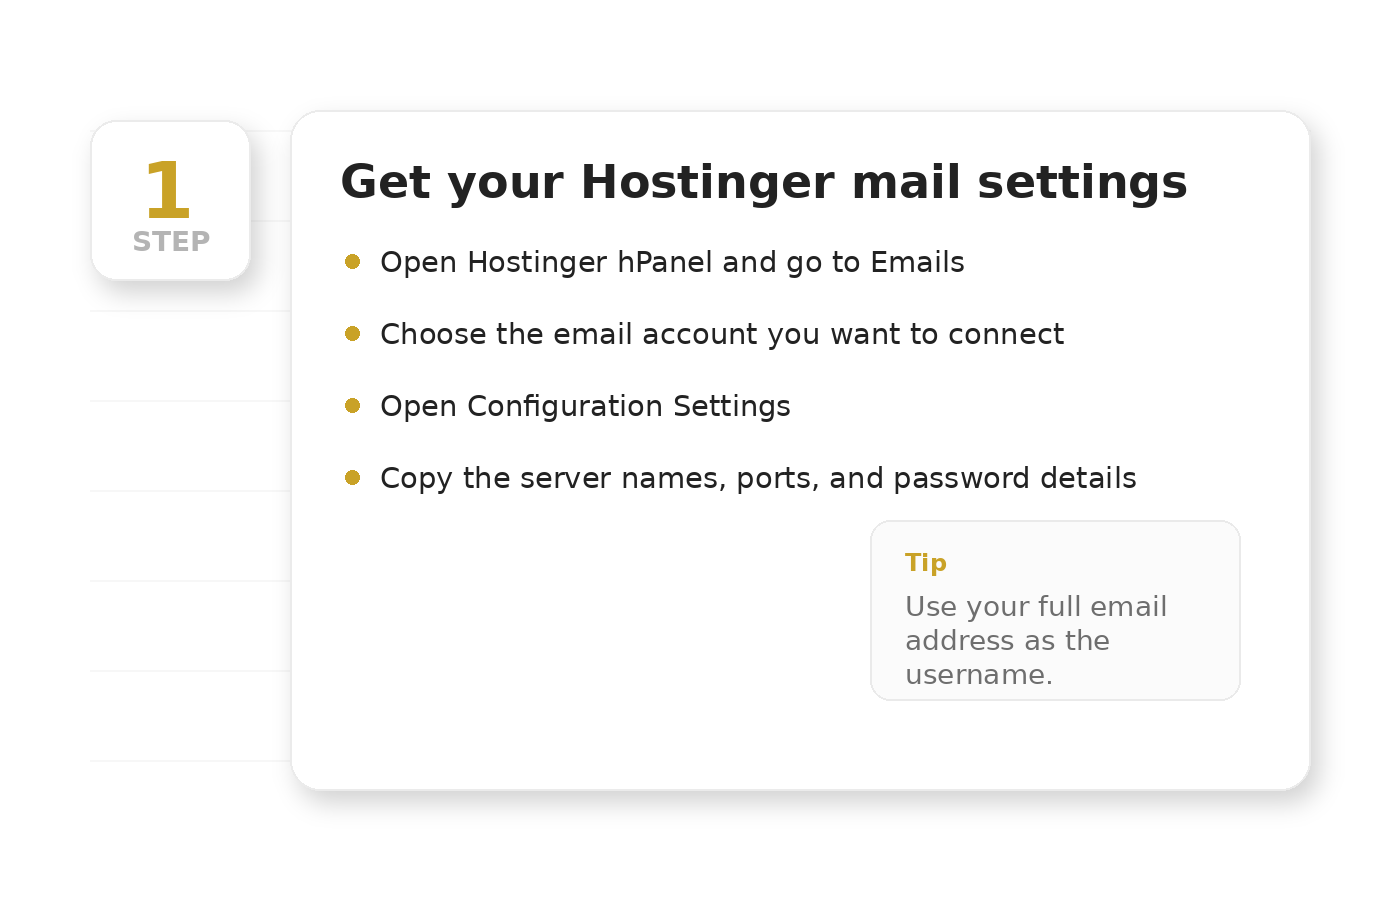
Get Your Hostinger Email Settings
Before Gmail can connect, you will need the mail settings for your Hostinger email account.
- Log into your Hostinger hPanel.
- Go to Emails → Email Accounts.
- Click Manage next to the email account you want to connect.
- Open the account’s Configuration Settings.
You will need:
- Email address
- Email password
- IMAP or POP server details
- SMTP server details
- Port numbers
Helpful note: Hostinger commonly provides secure settings such as IMAP on port 993 and SMTP on port 465 or 587.
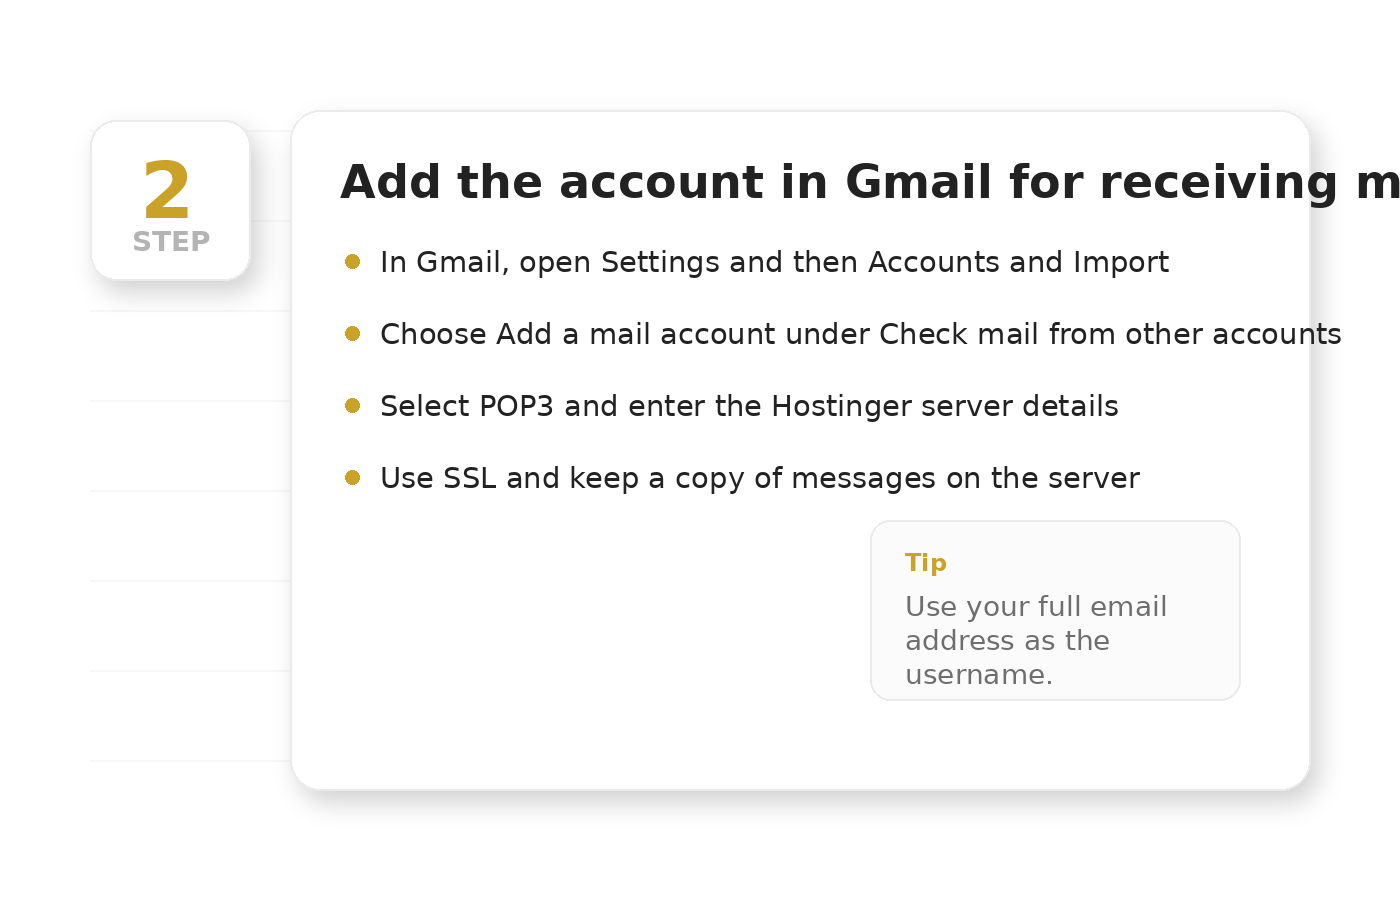
Add Your Hostinger Email to Gmail for Receiving Mail
This part lets Gmail pull messages from your Hostinger email account.
- Open Gmail.
- Click the gear icon and choose See all settings.
- Open the Accounts and Import tab.
- Under Check mail from other accounts, click Add a mail account.
- Enter your full email address.
- Select Import emails from my other account (POP3).
Enter the following:
- Username: your full email address
- Password: your email password
- POP Server: use the server Hostinger provides for your account
- Port: usually 995 with SSL
Recommended checkboxes:
- Leave a copy of retrieved messages on the server
- Always use a secure connection (SSL)
- Label incoming messages so they are easy to organize in Gmail
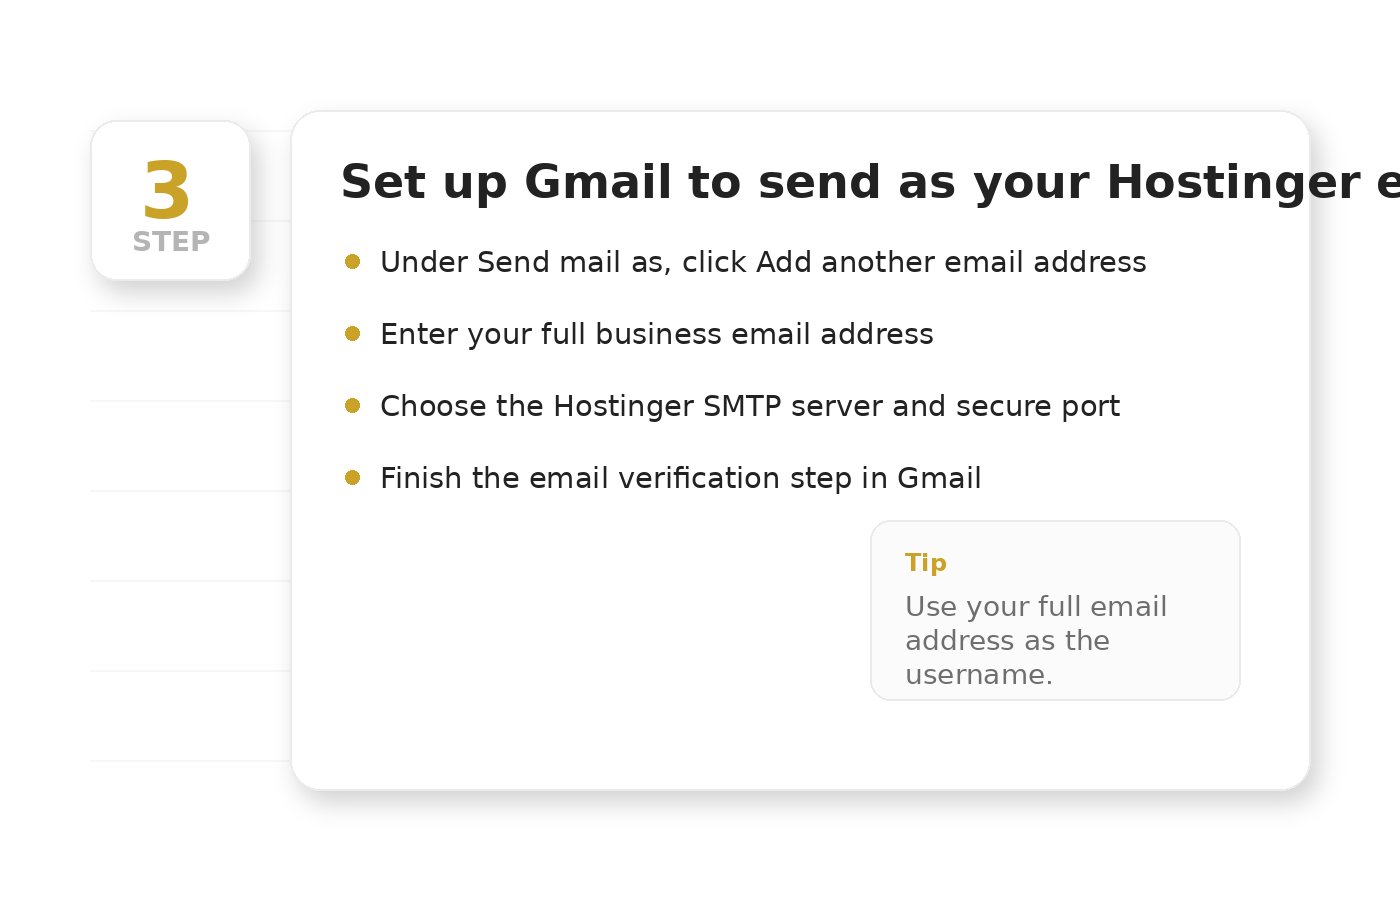
Set Up Gmail to Send as Your Hostinger Email
This is the part that lets you send mail from Gmail using your domain email address.
- In Gmail, go to Settings → Accounts and Import.
- Under Send mail as, click Add another email address.
- Enter your name and your Hostinger email address.
- Choose Send through SMTP server.
Enter the following:
- SMTP Server: the Hostinger SMTP server for your account
- Port: usually 465 (SSL) or 587 (TLS)
- Username: your full email address
- Password: your email password
After you click Add Account, Gmail will send a confirmation email. Open it and complete the verification step.
Quick Reference
| Incoming mail type | POP3 in Gmail setup |
| Incoming port | Usually 995 with SSL |
| IMAP reference | Often 993 with SSL |
| Outgoing mail | SMTP |
| Outgoing ports | Usually 465 or 587 |
| Username | Full email address |
Pro Tips
- Set your domain email as the default Send mail as address in Gmail.
- Use Gmail labels to separate work email from your personal email.
- Create a professional signature with your business name and contact info.
- Send a quick test email to yourself after setup to confirm everything is working.
Need Help Setting This Up?
If you would rather have us handle the setup for you, Maraire Media can configure your business email and make sure it works cleanly inside Gmail.
Contact Maraire Media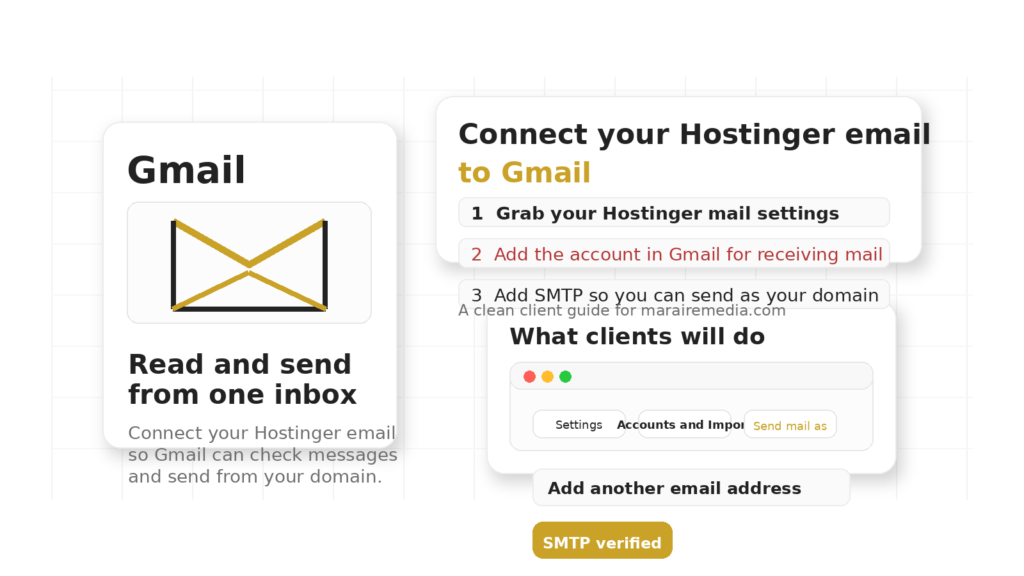
0 Comments